The One Habit You Should Ditch Right Now

- The Habit
- What To Do Instead
- First Step: Body Scan and Observation
- Second Step: Correct Any Imbalances
- Conclusion
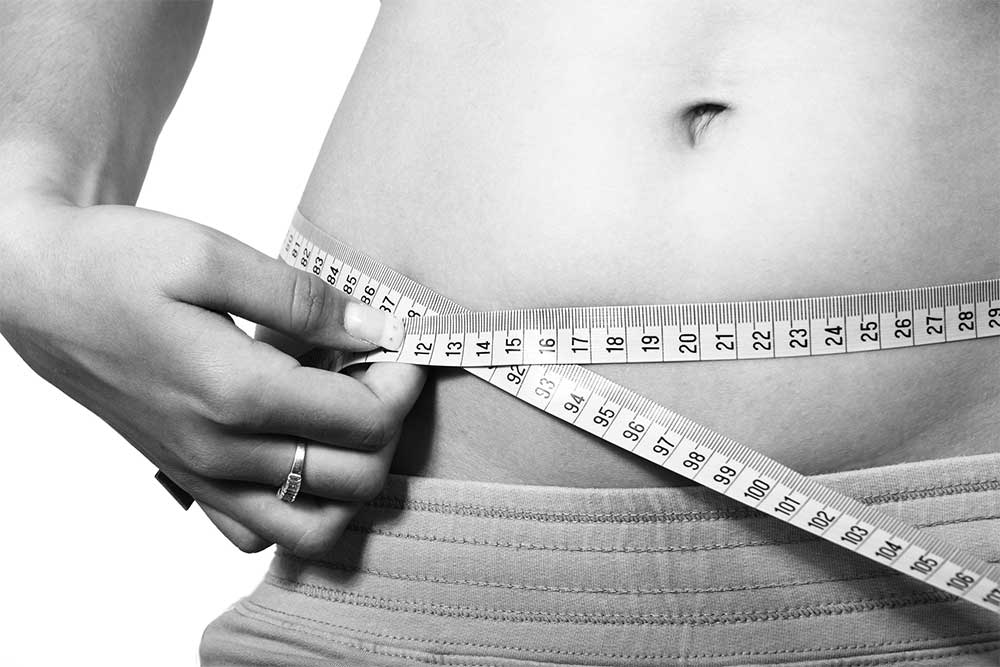
The one habit that you should ditch right now is holding your belly in all the time.
Picture the person who is constantly sucking in their gut. People may begin and perpetuate this habit for a variety of reasons, such as trying to look thinner, unconsciously tightening their abdominals due to stress, holding their breath. Wearing pants that are too tight may also cause you to unconsciously draw your belly button in. This habit of sucking in can lead to dysfunction in your back, hip, and pelvic floor. For those who are doing it to try to strengthen their lower abdominal muscles: it just doesn’t work that way. Although it’s true that pulling the belly towards the spine can increase the activation of one of your deep abdominal stabilizers (the transverse abdominis), the problem with holding this position all the time is that you are holding your muscle in a constant shortened position. Holding a muscle at a constant length doesn’t make it stronger, and it may actually make it weaker. For optimal function a muscle should move through a full range of motion, contracting and relaxing.
Holding your belly in can also contribute to poor breathing technique and pelvic floor dysfunction. Think of your torso like a canister with your belly button being in the middle. Pulling the navel in can put pressure both up on the diaphragm and down on the pelvic floor. This can cause a shallow breathing pattern due to a decreased ability to take a deep breath. A shallow breathing pattern can lead to the excessive use of accessory breathing muscles like the upper trapezius and scalenes; overuse of these muscles can lead to neck and shoulder tightness, upper back pain and even headaches. A shallow inhalation and too much pressure down also means your pelvic floor muscles may be holding constant tension. This can contribute to poor lumbopelvic stability, leaking, or even prolapse.

What to Do Instead
Instead of “sucking in” your belly, practice developing the habit of elongating your belly, lifting your rib cage up and away from the top of your pelvic bones, but not puffing out your chest. You should feel a lengthening through the front, back and sides of your waist, and be able to take a full breath in and out while still maintaining a normal, erect and stable posture. This will activate the deep postural muscle in the front of your abdomen, the transverse abdominis. The transverse abdominis runs around your lower abdomen from side to side, unlike the internal and external obliques which are oriented in a diagonal pattern on either side of your torso. This will also activate the multifidus, a large and important back muscle located on either side of your spine that provides strength, stability and support for your spinal column. It functions when you reach or bend forward, providing for smooth and controlled motion of the trunk. Weakness and atrophy of this very important spinal muscle is associated with chronic low back pain. When weakened, the multifidus cannot stabilize the spine effectively, placing increased pressure on muscles, joints, ligaments and other connective tissues between and adjacent to the spinal column, increasing the risk of lower back pain
First Step: Observation
If you are ready to let go of the habit of sucking in your belly, the first thing to do is to observe and learn what your body is doing and where it is in space. Start with this brief assessment by standing in front of a mirror in tight fitting clothes such as a yoga outfit or in your underwear. Then take a good look at yourself starting with the feet, moving up as described below.
Feet: Looking at your feet, where do you feel most of my weight on the bottom of your feet? If you aren’t sure, close your eyes and try to sense this. If needed, gently shift your body back and forth trying to feel where your body weight lands in each foot. Is all or most of your weight on your heels, in the middle of the foot or in front of foot (ball of foot)? Is your arch flat, low or collapsed or high? Do you tend to roll your ankle to the outside of your foot, or fall into the big toe side of your foot in a more collapsed arch?
Knees: Visually scan up to the knees; note if they are hyperextended or bent excessively. Are they collapsed to the inside (“knock-kneed”), in what is called genu valgum or bowed outward (“bow legged”), in what is called genu varum? Are they symmetrical, or is one bent more inward, or outward, than the other?
Pelvis/buttocks: Continue your visual scan upward, looking at your hips, pelvis and buttocks. Are the front of your pelvic bones tipped forward creating an increased curve in your lower back, known as your lumbar lordosis? This is a normal curve, though when your pelvis is angled more forward, it will lead to an exaggeration of this curve, which can lead to short, tight and weakened muscles around your hips and lower back. In contrast,, are your buttocks tucked under you creating a more flat back looking posture?
Waist/abdomen: Next, take a look at your abdomen and waistline. Are the curves of your waist symmetrical? Is your abdomen collapsed, protruding, long or short?
Rib cage: Is your rib cage collapsed down over your belly button? Is it puffed out?
Shoulders: Look up at your shoulders. Are they elevated, appearing to be rising up into your ears? Are they rounded forward, or back? Is one higher than the other? Are they slumped down, or perhaps straight across?
Neck/head: Focus next on the position and alignment of your neck and head. Is your chin protruding forward or upward with your head out in front of your shoulders? Does your neck look long or short and compressed? Is your head tilted to one side? Are your earlobes level?
Step Two: Correct Any Noticed Imbalances
Now that you are more aware of your body, you can begin to correct imbalances, keeping in mind that we are all created uniquely and have variations in our posture. However, the overarching goal is to be in a more balanced, symmetrical posture that activates the postural support muscles which hold you upright, keeping you strong and stable.
Feet: When standing, your weight should be equally dispersed to each foot with most of your body weight falling over the mid to ball of the foot. Think of a triangle from the base of your big toe to the base of your pinky toe to the mid portion of your foot, not over your heels. Press your feet down into the floor and lengthen the shin bone away from your ankle, thus creating space in your ankle. Try not to collapse your ankle inward, flattening the arch, nor rolling to the outside of your ankle.
Knees: Keep your knees “soft” not hyperextending them backwards, locked all the way back. However, they should not be pushed all the way back or bent very much.
Pelvis: Place your hands on the top of your pelvic bones just below your waist on either side. Then, rock them forward (anterior tilt) and backward tucking your tailbone (posterior tilt). Try and find a pelvic position between the two extremes of forward and backward, creating a small inward curvature in your low back, this is what is called neutral spine position. Once the neutral pelvis is established, lengthen your waist away from the pelvic bone and your rib cage will lift naturally off the pelvis creating your waist. You should have lengthened both the front and the back of your spine. Next, think of bringing the left and right side of your waist to the midline, like you are tightening a velcro brace around your waist, thus activating your abdominal oblique muscles. You should feel a gentle tension around your abdomen as you engage these muscles. Be mindful to note if you are holding your breath or perhaps breathing differently. If you are holding your breath, practice holding the abominable muscles tense and see if you can take at least shallow breaths. As you practice this more you will eventually be able to breathe normally and even talk while keeping the abdominal muscles engaged.
Rib cage: Your rib cage should be centered and held softly over your pelvis, lengthened up and away from your pelvis, creating a waist.
Shoulders: Think of the front of your shoulders and your collar bone as being wide and open, not rounded inwards and forward. Bring your shoulder blades gently back and down toward your back pants pocket.
Neck: There should be a slight forward (front to back) curvature of the cervical spine, called a lordotic curve. Once again lengthen the front and the back of the spine, creating space in each of the vertebrae in the neck without the chin protruding too far forward or being held tightly inwards towards your throat.
Head: Your head should now be balanced between the shoulders, with your eyes looking forward towards the horizon.
Conclusion
When your feet, knee, pelvis, rib cage, shoulders, neck and head are in the correct position, your posture is balanced and the core muscles are activated, working as they are meant to. These positions lengthen the entire spine, activating your deep postural muscles and engaging your core without straining. When you’re in this more neutral alignment, you are protecting your body by avoiding excessive strain on your joints, ligaments, spinal discs, hips, and shoulders, while at the same time you are strengthening yourself, balancing your posture, improving your appearance and even allowing for improved respiration.
As you can see, healthy body alignment and correct use of your postural support muscles is not just about sucking in your belly, but it is about learning to maintain your body as a balanced system that incorporates all the parts of your whole body to properly engage the core muscles.
Try it and discover your body, posture, and alignment and how good you will feel!
Article written by Laura Nice, DPT
References
Duvall, Sarah. Deep Breathing and Diaphragm Function. Postpartum Corrective Exercise Specialist Course. 2018. retrieved from http://www.coreexercisesolutions.com
Authored by: Mary Carpenter, PT and Cheryl Smith, PT


